
Few errors are as common as ‘504 Gateway Timeout’ when you’re navigating the web. It can pop up anywhere, disappear just as quickly, or stick around and give you a headache. Worse yet, there are so many potential causes for this error, troubleshooting it can take a while.
The good news is we know what causes the 504 error. However, chances are you’ll still need to run through at least a couple of fixes before you hit the nail on the head. In any case, it shouldn’t take you long to narrow the cause of the 504 error and get rid of it.
In this article, we’re going to talk about what the 504 Gateway Timeout error is and the many ways it can show up on your website. Then we’ll walk you through five ways you can fix it. Let’s get to work!
What Does 504 Gateway Timeout Mean?
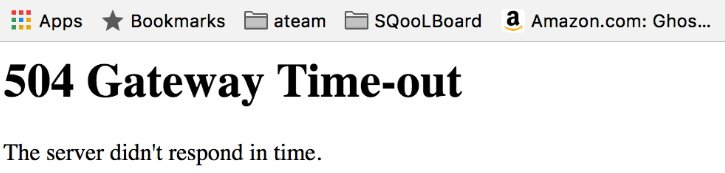
The 504 Gateway Timeout error is highly recognizable and mostly harmless, although it can be annoying.
When you visit a website, your computer establishes a connection to its server to send and receive any necessary information. However, in almost all cases, your connection goes through multiple computers or servers before arriving at its destination. Think about it as a chain, and if any link fails to receive a response from the next one within a reasonable timeframe, the result is a 504 Gateway Timeout Error.
To put it another way, connections between computers aren’t instant. There’s always a delay between the moment your browser sends a request and when it receives a response. Ideally, the delay should be slight enough so people barely notice it. However, computers are configured so connections can drop when a server doesn’t respond. This behavior prevents your computer from trying to re-establish a connection over and over again with another server that might be down.
The 504 error code is universal, and it can appear in every browser and for every operating system. It always has the same meaning too – one server within the chain failed to respond in time. However, the way the error appears can vary depending on which browser you’re using or personal customizations. For example, you may see:
- 504 – Gateway Timeout
- 504 Gateway Timeout Error
- Gateway Timeout (504)
- HTTP Error 504 – Gateway Timeout
- Gateway Timeout Error
- HTTP 504
The 504 Gateway Timeout error in WordPress works much the same as with other types of websites. There are several reasons why a server might be taking too long to respond, so we’ll need to go over several troubleshooting methods. Most of these will also work with non-WordPress websites, aside from the steps dealing with plugins and error logs. Let’s get to work!
How to Fix the 504 Gateway Timeout Error in WordPress (In 5 Ways)
If you run across the 504 error, your first move should always be to reload your website. The error will often go away in a matter of seconds, so you shouldn’t panic. Just to be safe, though, try force refreshing to clear your website’s cache.
Sometimes, refreshing won’t fix the issue, and your next step should be flushing your Domain Name System (DNS) cache, which should also take less than a minute. If both those measures fail, it’s time to get serious.
Before you begin though, WordPress includes a hidden feature that enables the platform to record any errors it runs into and save them into a log file. If you enable this feature, then try recreating the 504 error, your log should give you a clue as to what might be causing it (assuming the problem is on your website).
We previously devoted an entire piece to explaining how WordPress error logs work, how to enable them, and interpreting their results. Check it out and use the information to help you narrow down the source of the error.
1. Check Your Proxy Settings
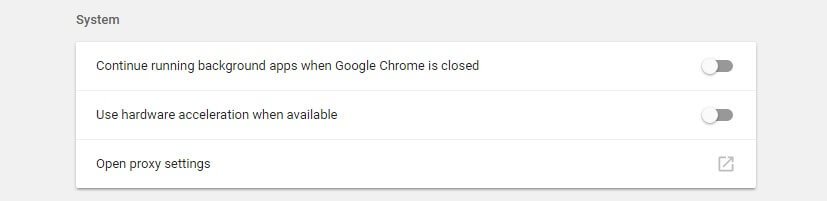
To get started, let’s try to ascertain whether the problem lies with you by checking whether you’re using a proxy through your browser, which may be failing to connect to your server. Your proxy settings will vary depending on which browser you’re using. For example, Google Chrome users should navigate to their Settings screen and click on the Advanced tab at the bottom of the emerging page:

A lot more options will show up, so scroll down until you find the System tab, look for the Open proxy settings option, then click on it:
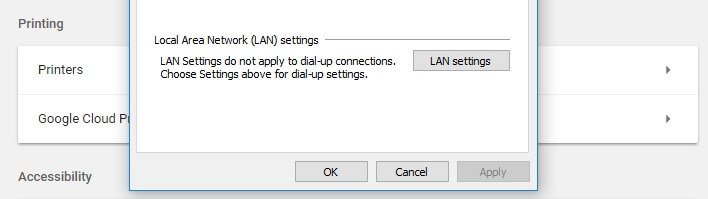
In the new window that pops up, look for the LAN settings button and click on it:
Now, disable the options that read Automatically detect settings and Use a proxy server for your LAN if either of them is active:
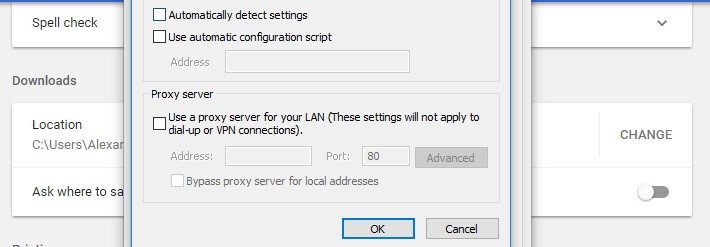
Save your changes and try force refreshing your website once more. If you’re a macOS user, you’ll need to follow a different set of instructions, although the results should be the same. Should the error persist, move on to step number two.
2. Ensure Your Domain Can Be Found
When you register and assign a domain to a website, you’re telling the world Hey, this domain leads here!. This information is stored using something called the Domain Name System (DNS). This consists of servers spread across the globe that stores the information, enabling anyone to access it. This means when you try to visit any existing domain, your browser knows exactly where it needs to go.
The problem is, the information within the Domain Name System (DNS) isn’t updated instantly. It takes time for new domain registrations or assignments to ‘propagate’ across the network. In practice, it can take as little as a few hours for your domain to become accessible, although most registrars tell you to wait up to 48 hours just to be on the safe side.
When you transfer a WordPress website from one host to another, your domain might not resolve to the correct address right away. This can lead to a 504 error that should solve itself with a little patience. The easiest way to know if this is the problem is to use a tool such as DNSMap to check the status of your domain’s propagation:
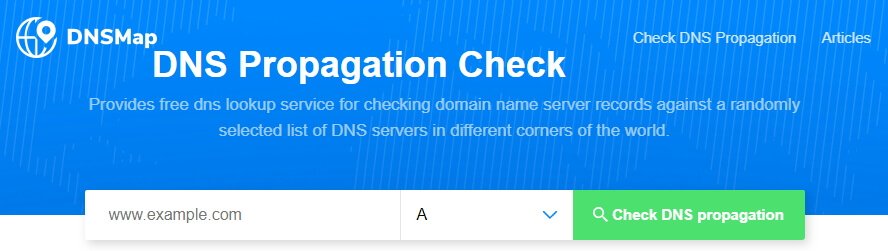
Just type your domain, enter its type of record, and click on the Check DNS propagation button. Ideally, every result below should be green. If several of them return a red result, you need to wait until your domain finishes propagating.
With that in mind, remember there are ways to migrate a WordPress website without any downtime. Remember this if you ever want to move your site to a better web host! Speaking of which…
3. Check Whether There Are Issues With Your Hosting Provider
Having ruled out problems with your local setup and domain, the next logical step is to check if the issue lies with your hosting provider. For example, the problem might be that your server is unresponsive due to a Distributed Denial of Service (DDoS) attack, a spike in traffic, or just unscheduled downtime.
If this is the case, you’ll need to contact your web host to see if they can fix the issue on their end. Reputable hosting providers will probably detect the problem on their own and reach out to you, but it doesn’t hurt to open a ticket just to be sure.
Keep in mind – if the 504 error is caused by a spike in traffic, it might be time for you to consider upgrading to a better plan. If you’re a 000Webhost user, we recommend checking out what Hostinger has to offer:

Our free hosting plans are a great option to begin your WordPress journey, but the more resources you’ll have to grow your website into a success story, the better.
4. Disable Your Content Delivery Network (CDN)
CDNs enable users to load your site faster by storing copies of it in datacenters around the world. This also has the added benefit of reducing the load your server has to shoulder. However, in some cases, your CDN might not be able to load your site as it should, leading to a 504 error, such as this one:

The easiest way to determine if your CDN is causing your 504 Gateway Timeout Error is to temporarily disable it. Every CDN works differently, so you’ll need to check out your service’s documentation for specific instructions. If you’re using Cloudflare, for example, just go to your Overview tab and look at the Advanced settings section within:
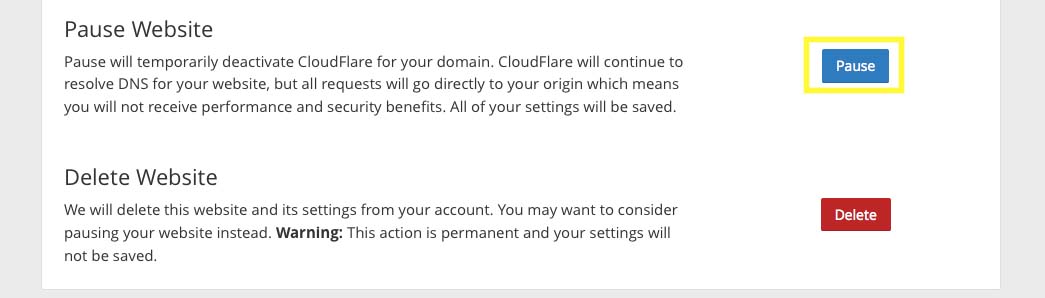
There should be a big Pause button right at the top, and clicking it will disable your CDN. You can then re-activate it by returning to that same section at any time you want. Just remember to check if the 504 Gateway Timeout error is gone beforehand.
If disabling your CDN fixed the issue, we recommend keeping it turned off for a few hours. It’s usually a temporary problem, so the error shouldn’t persist once you re-activate it.
5. Disable Your WordPress Plugins
For the uninitiated, WordPress is built using PHP, which means plugins interact with the platform using the same language. The way PHP works, it can only handle a finite number of requests at a time. If you have plugins making too many requests, it can result in some of those requests getting ‘dropped’ and causing a 504 Gateway Timeout error in WordPress.
The fix for this problem is simple – you just need to disable each of your plugins until you find the culprit. However, since you can’t access your dashboard through regular means, you’ll need to interact with your plugins via File Transfer Protocol (FTP). To do this, you’ll need your FTP credentials and a client such as FileZilla, which is our top pick due to its open-source nature and active community.
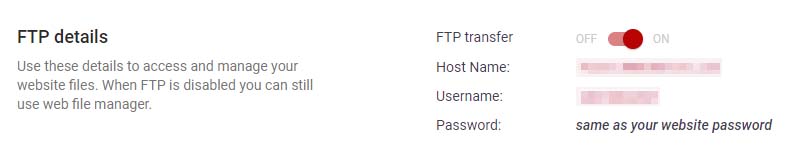
To start, install the client and look for your 000Webhost credentials by logging into the portal’s dashboard, and going to the Settings > General tab. Inside, there’s a section called FTP details that includes the information you need, such as your Host Name, Port, and Username:
Now, open your FTP client and type this information into the login bar at the top of the screen, then click on the Quickconnect button to the right. Remember – your password should be the same as the one you use for your 000Webhost account. When the client establishes a connection to your server, two folders will appear on the lower-right side of the screen:
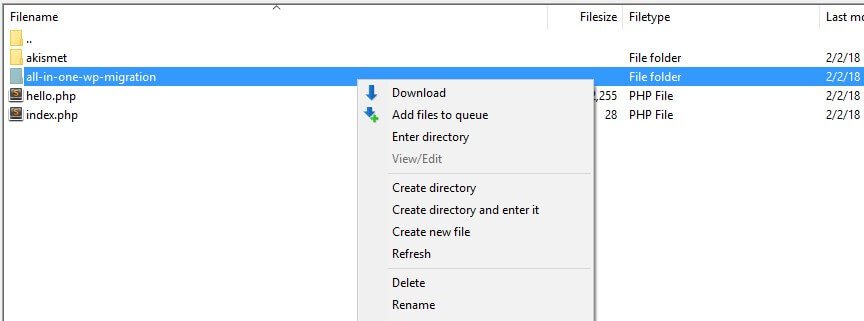
 Click on the one reading public_html, which is also known as the WordPress root folder, where all your website’s files reside. Once you’re in, navigate to the wp-content/plugins directory. You’ll find individual folders for each plugin installed on your website, even those that aren’t active:

To disable an active plugin via FTP, simply alter the name of its folder so WordPress doesn’t recognize it. You can do this by right-clicking it and choosing the Rename option:
You can rename your plugin’s folders to anything you want. However, we recommend changing them to something such as disabled.pluginname, for example. That way, you’ll know which folders you’ve modified, and returning them to their original state should be simple. After disabling each plugin, try reloading your website to check if the error persists.
If the 504 Gateway Timeout error disappears, we recommend you try contacting the developer of the plugin first of all for a fix. You may also need to find an alternative if it was central to your website’s functionality. Otherwise, try re-enabling it later on to see if the error re-appears.
Conclusion
The 504 Gateway Timeout error may be common, but it’s nothing to be scared of. In some cases, the error might even go away on its own after you try reloading the affected website a few times. If it doesn’t, you may need to get your hands a bit dirty, but it shouldn’t take you long to get your website fixed up.
When you’re ready to troubleshoot the 504 error, here are five ways you can tackle the problem, in order of difficulty:
- Check your proxy settings.
- Take a look at your domain’s propagation.
- Double-check if there are issues with your web hosting provider.
- Try disabling your CDN.
- Disable your WordPress plugins.
Do you have any questions about how to fix the 504 Gateway Timeout error in WordPress? Let’s talk about them in the comments section below!