
High search rankings on sites like Google are important for improving your content’s visibility. To approach the number-one spot in search result listings, you need to give Google the best possible picture of what your website offers. That’s where a WordPress sitemap comes into play.
Simply put, a sitemap is a complete list of the pages featured on your website. Search engine crawlers will use it to gather data about the content and organization of your site. The better the information the crawlers have to work with, the more likely it is that your site will receive greater indexing and coverage.
In this article, we will explain exactly what an XML sitemap is and how you can use one to reap major SEO benefits. We’ve also included a handy guide to help you first create an XML sitemap in WordPress, and then submit it to Google Search Console. Let’s dive in!
What Are XML Sitemaps (And Why Are They So Important)?
An Extensible Markup Language (XML) sitemap is a text file containing the URLs of every page on your website, and the metadata associated with those URLs. Unlike Hypertext Markup Language (HTML) sitemaps, which are primarily designed to help visitors search your site and find the pages they want, XML sitemaps are intended specifically for search engines crawlers. If your site has poor structuring or few links, XML sitemaps are particularly important. They give search engines an indication that your site exists and is ready for crawling.
Even if you have a large website with plenty of internal links, however, not including an XML sitemap means that crawlers will miss crucial information they need to index your site correctly. What’s more, if your website lacks both external links and an XML sitemap, crawlers may miss it altogether! Although having an sitemap is not an ironclad guarantee that your website will be crawled, it certainly improves your chances of Google and other site engines discovering your site.
XML sitemaps also present a useful way to counter unauthorized content duplication. Since your XML sitemap will display the date and time your content was published, it enables you to clearly establish that you are the original creator of that content. This can come in handy if you find other sites using your content without permission.
If you want your website to be readily discoverable, using an XML sitemap is highly recommended. This is especially the case if you depend on your website to generate business, or if you are just starting a new website and lack a significant number of backlinks. In case you’re still not convinced, let’s explore some of the SEO benefits of implementing an XML WordPress sitemap.
How XML Sitemaps Can Boost Your Website’s SEO
Ranking highly in Google searches is key for attracting visitors to your site.
The main reason XML sitemaps are ideal for improving your website’s SEO is that they provide you with a means of communicating specific information to search engine crawlers (such as Googlebot). Because an XML sitemap is a text file, you can add tags to lines of text to better assist crawlers during the indexing process. Tags can help you establish a hierarchy of what information on the site has priority. They also let you indicate when and how often your website changes.
It’s important to remember that Google will rank your web pages, rather than your website as a singular entity. By using a WordPress XML sitemap, you can better inform search engine crawlers about what pages on your site convey the most important information. For example, by adding the <priority> tag to your XML sitemap, you can prioritize the information found on your Home, About Us, or Product pages. The information found on these pages is likely to give a clearer indication of what the website is primarily about, as opposed to (for example) a Contact Us page.
You can assign a numerical value between 0.0 and 1.0 after the <priority> tag, to specify exactly how important the page is, with 0.5 set as the default. This in turn provides crawlers with a more focused, better structured understanding of what your website is all about. The valuable information the crawlers acquire can then be passed on to search engines. Consequently, they’ll be able to find your site with greater ease.
There are several other ways to use your XML sitemap to ‘feed the crawlers’ and improve your website’s SEO. To help ensure that your website is crawled at an optimal rate, and that all updated information is taken into account, you can add two specific tags to your XML sitemap. The <lastmod> tag, for example, will let the crawlers know when a particular page was last modified. Similarly, the <changefreq> tag can be used to show how frequently an element of your site is likely to change. Including both provides search engine crawlers with more useful data, and thus help to improve your site’s SEO considerably.
Of course, written content isn’t the only thing your XML sitemap can guide crawlers through. If your website features rich content, such as YouTube videos, audio files, or images, an XML sitemap will help ensure that it is found in the appropriate search results. Let’s say that your website features a video tutorial for repairing an oven, complete with accompanying images. An XML sitemap would improve the visibility of these items in Google video and image search results for ‘oven repair’, or other relevant key words you have designated.
Finally, an XML sitemap can also give you insight into what else you need to do to improve your SEO. For example, submitting your XML sitemap to Google Search Console (formerly Google Webmaster Tools) will enable you to better determine which search terms lead visitors to your pages. You will also be able to see which pages of your site have been indexed successfully, and identify any broken links or pages. We will examine Google Search Console, as well as how to submit your WordPress sitemap to it, in greater detail later on.
Now that we have explored the benefits of implementing a WordPress XML sitemap, let’s walk through how to set one up. The process is quick, and doable even for beginners.
How to Create an XML WordPress Sitemap (In 2 Easy Steps)
No matter what tool you choose, we strongly recommend backing up your WordPress site before you begin. While the following process should be safe, there’s always a slight risk involved when making any changes to your website. Having a recent backup handy enables you to quickly resolve any issues that might arise.
Step 1: Select an XML Sitemaps plugin
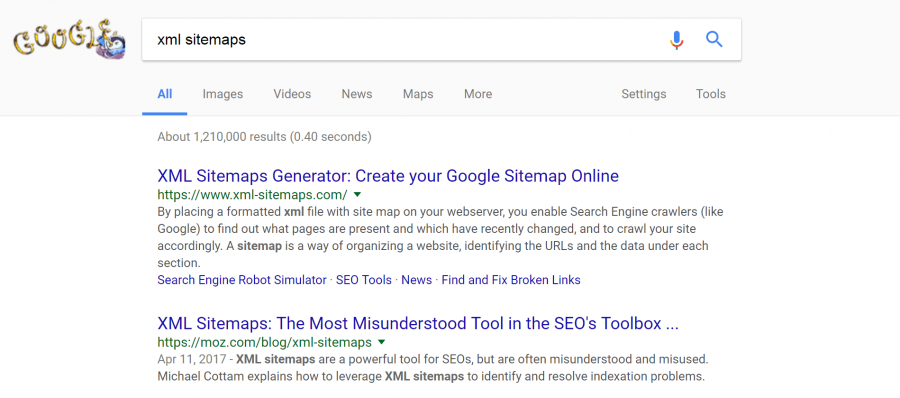
Googling “create sitemap WordPress” will generate a broad variety of responses, and it can be difficult to know what tool is best suited for the job. For this tutorial, we’ve chosen to go with the Yoast SEO WordPress plugin:

This is because it is fast, reliable, user-friendly, and free (although there is also a premium version with additional features). Sitemaps generated by Yoast SEO are compatible with multisite networks, as well as single WordPress sites.
Along with being ideal for generating your WordPress sitemap, Yoast SEO is an invaluable plugin for checking the SEO status of your posts. It lets you set your preferred focus keywords for each post. Then, it presents an easy-to-follow checklist to help you ensure that they are implemented correctly. Yoast’s simple traffic light system lets you know if you are good to go (green), or if there are still areas where the keyword can be used or you can make other improvements.
Yoast SEO is certainly not the only option when it comes to generating WordPress sitemaps. Another popular choice is Google XML Sitemaps. This plugin is fast, well supported, and available in 16 languages. Premium SEO Pack is also a highly-rated plugin, enabling the user to automatically create sitemaps for both pages and blog posts. Of course, it is also possible to create XML sitemaps manually. However, the process is time consuming, complex, and can cause damage to your site if information is entered incorrectly. Therefore, we recommend using a plugin unless you have experience with the process.
Step 2: Install and Activate the Plugin
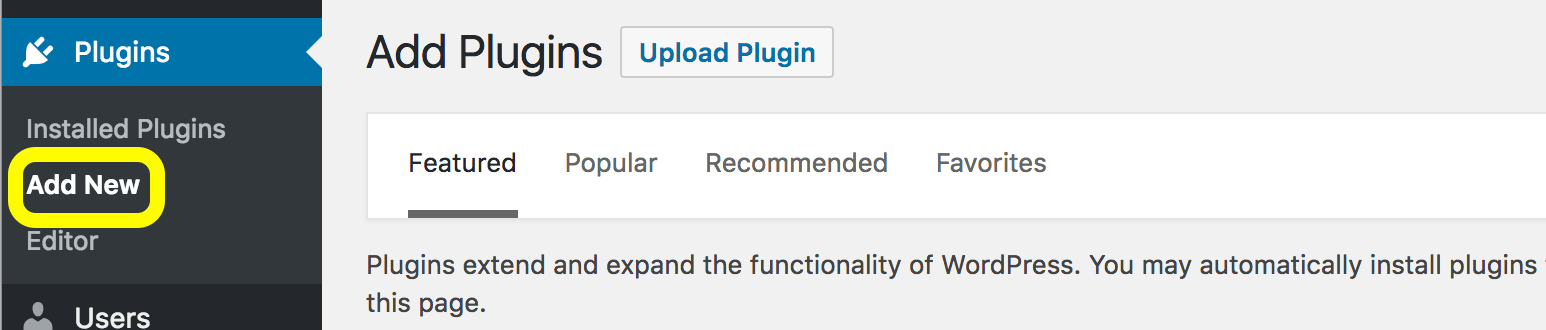
As we stated earlier, we’ll be using Yoast SEO throughout the rest of this tutorial. To install this plugin, simply navigate to the Plugins tab in your WordPress dashboard. Click Add New in the drop-down box:
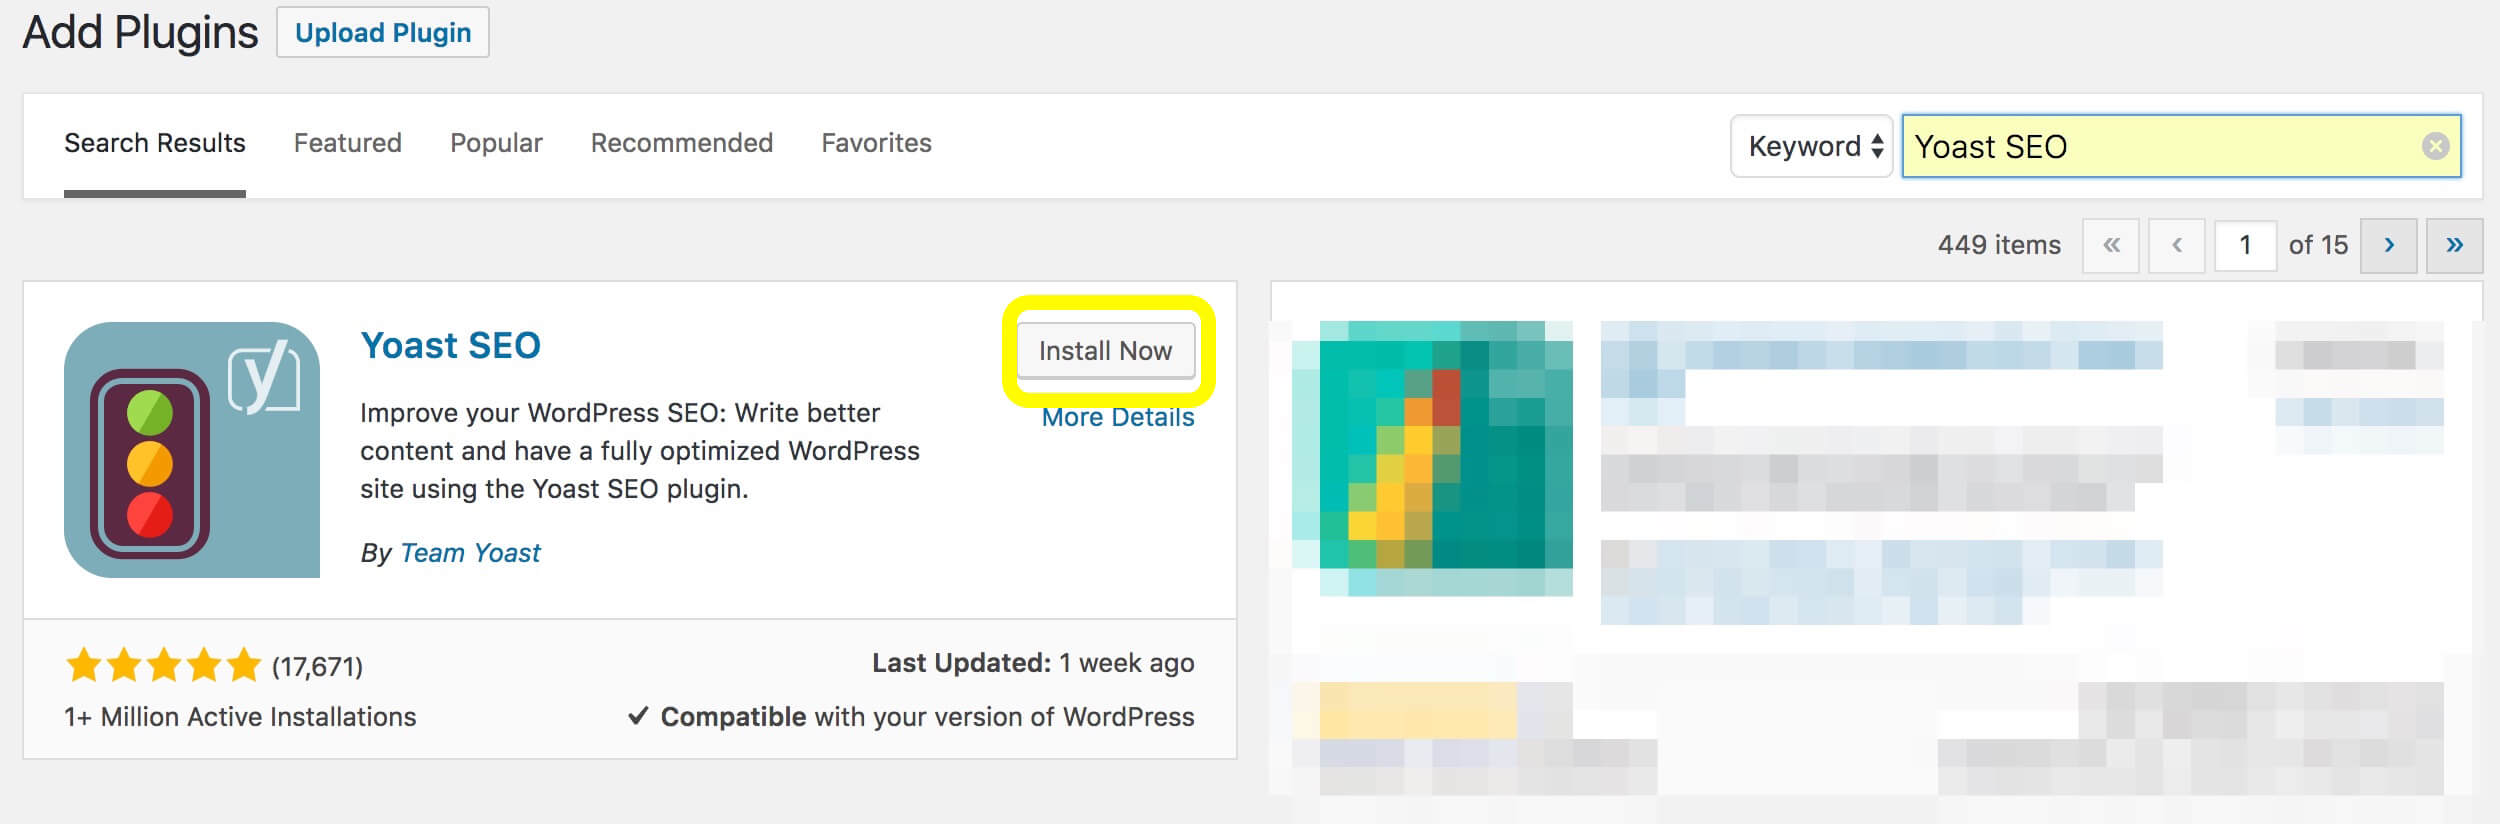
Search for “Yoast SEO,” and click Install Now:
After the installation is completed, don’t forget to click the Activate button. This is all you need to do to get the Yoast SEO plugin up and running on your site.
Step 3: Generate Your Sitemap
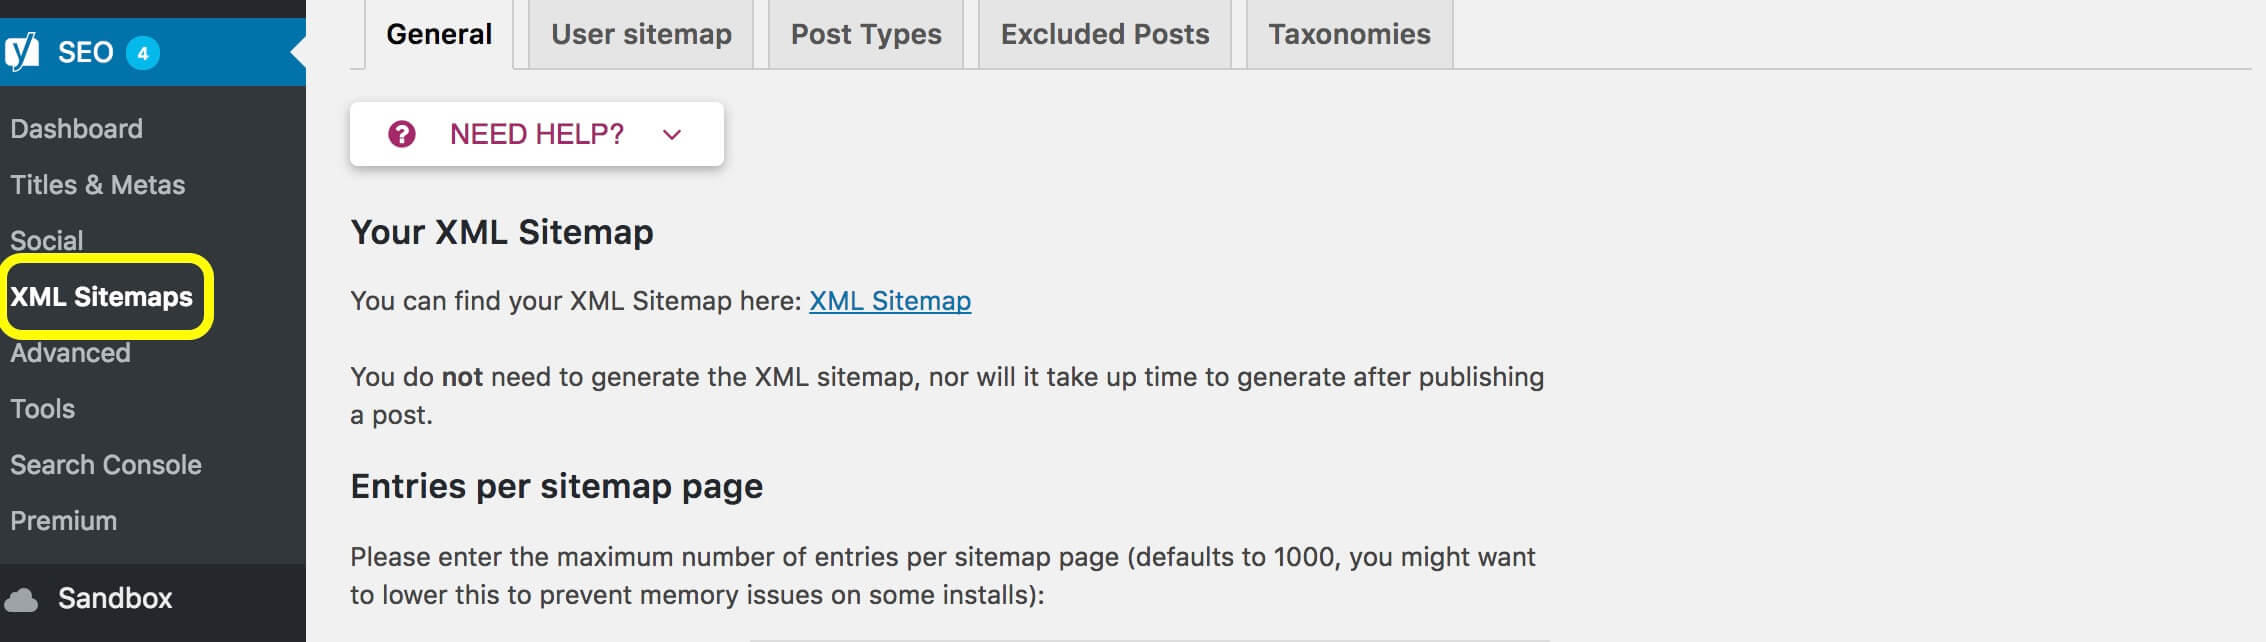
After you have activated Yoast SEO, navigate to the new SEO tab in your WordPress dashboard. Select the XML Sitemaps option from the drop-down menu:
If you don’t see the option for XML Sitemaps, ensure that the Advanced Settings Pages option is enabled. You can find this by selecting the SEO tab in the WordPress dashboard, and navigating to Features. Ensure that the Advanced Settings Pages option is toggled to enabled, and save your changes.
After you have clicked on XML Sitemaps, toggle the XML sitemap functionality switch to Enabled:

Then select the XML Sitemap link at the end of the line reading You can find your XML Sitemap Here:

A page displaying your XML sitemap should then display! After you have created your WordPress sitemap URL, it will be automatically generated, and ready for optimal crawling. However, there’s one more step you might want to take. In the next section, we will cover what Google Search Console is and how you can submit your XML sitemap to it.
How To Submit Your XML Sitemap to Google Search Console
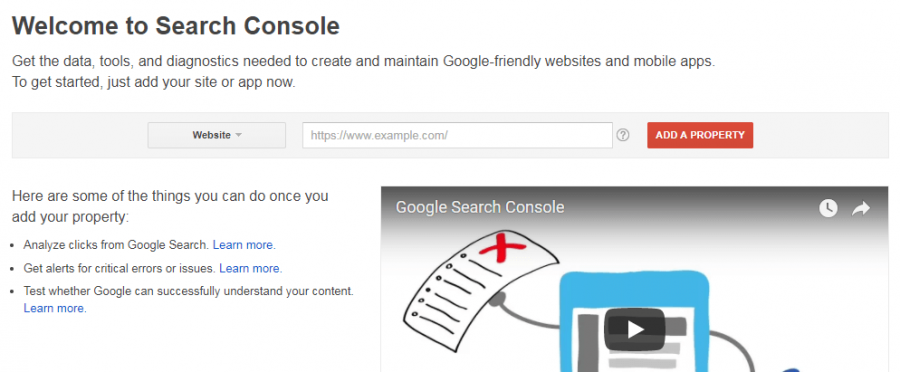
Google Search Console is a free SEO tool that enables you to view information gathered from Googlebot, including crawling and indexing stats:
You can use Google Search Console to determine which search phrases your website is displaying for. Plus, you can discover new keyword opportunities for improving your SEO. Google Search Console is also useful for viewing how your web pages will display in search results pages. If any errors, broken pages, or damaged files are present on your site, Google Search Console will notify you.
Submitting your XML sitemap to Google Search Console makes it even easier for your website to be crawled and indexed. The process is straightforward, particularly if you have generated your sitemap with Yoast SEO. However, you will first have to ensure that you have a valid Google account and that you have added your website to Google Search Console.
Then, simply follow these steps:
- Sign in to Google Search Console.
- Select your website from the options given on the homepage.
- In the sidebar, go to Crawl and then click on Sitemaps from the drop-down menu.
- To avoid confusion, invalid sitemaps that you have created in the past should be removed.
- Select the Add/Test Sitemap button.
- Enter sitemap_index.xml into the text box.
- Finally, hit Submit.
That’s it! Finally, it’s with noting that you may want to repeat this process whenever you make major changes to your site. That way, you can ensure that Google has the most up-to-date information.
Conclusion
Creating a WordPress sitemap is an easy, safe, and reliable way to improve SEO on your website. This is especially true if your website has no external sites linking to it yet. By using an XML sitemap and submitting it to Google Search Console, you can speed up your indexing, and ensure that your site is crawled promptly.
In this piece, we explained how to create a sitemap in WordPress. Here is a brief recap of the steps you should follow after backing up your WordPress site:
- Choose an XML sitemaps plugin, such as Yoast SEO.
- Install and activate the plugin in WordPress
- Generate your sitemap.
- Optionally, submit your sitemap to Google Search Console.
Do you have any questions about how to generate a sitemap for your WordPress site? Let us know in the comments section below!