
Even if you’ve found an excellent theme for your WordPress site, chances are that there are certain design elements you’d like to adjust to get its appearance just right. Perhaps you want to tweak the way your post titles display or enlarge the size of your header image. However, the prospect of changing the code or using FTP to fix these elements may seem like more trouble than it’s worth.
Fortunately, custom CSS (Cascading Style Sheets) presents an easy method for tailoring the appearance of your WordPress site to meet your needs. As an open source content management system, WordPress offers a variety of ways to add custom CSS to your site. To further simplify the process, there are even dedicated CSS WordPress plugins that you can use.
In this article, we will delve deeper into exactly what custom CSS is and why it’s useful. We’ll then look at the different ways you can implement custom CSS in WordPress. Let’s begin!
What Custom CSS Is (And What It Can Do For You)

- Although it might look intimidating, adding custom CSS in WordPress is a relatively simple process.

In a nutshell, CSS (Cascading Style Sheets) is a markup language used to dictate the way HTML elements appear. HTML is the primary language used for website creation, and its elements include images, font, colors, borders, headings, and paragraphs (to name just a few). As such, custom CSS presents a handy method for tweaking your Word Press theme, giving you more control over how specific elements look without compromising the appearance of the theme as a whole.
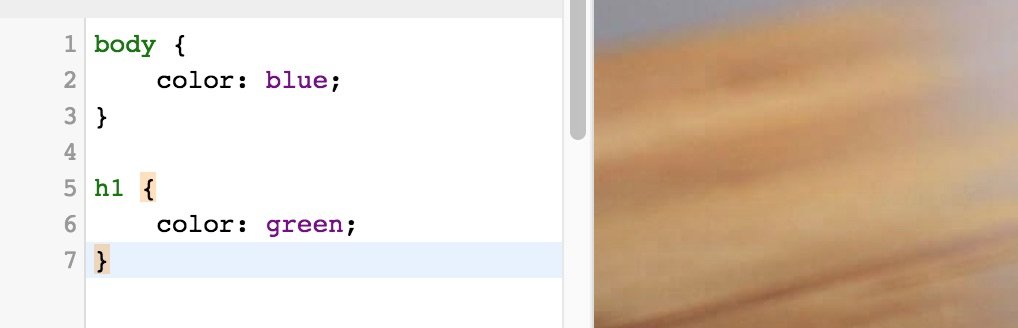
Let’s take a look at this process in action. In the following example, you can see how heading and body text (which are both HTML elements) can be changed to different colors using custom CSS in WordPress:
body {
    color: blue;
}

h1 {
    color: green;
}
As you can see, CSS has been added to the body HTML element after the bracket in the form of a selector (color) and an attribute (blue). The same structure pertains to the h1 (header 1) element, with the attribute being green in this instance. Further selectors for font type, style, and positioning could also be added and adjusted accordingly.
This same basic process applies when adding different kinds of WordPress custom CSS. Of course, the selectors and attributes will vary according to what is being changed. So instead of a color, the selector could be font type, and the applicable property might then be Times New Roman.
You should keep in mind that if you change your theme, the custom CSS changes you’ve made will no longer display. What’s more, if you make changes directly to your theme and then the theme receives an update, you also risk losing them. Creating a child theme is a useful workaround for that problem. In fact, we’ll explore that method in more detail further on.
This has been just a brief introduction to how custom CSS in WordPress can be used to help you tweak the appearance of your theme to better suit your needs. There are a variety of more comprehensive guides available if you’re interested in really mastering CSS and implementing it in more creative ways. Now that you have a basic grasp on how CSS works, however, let’s explore the ways you can use it on your WordPress site.
3 Methods for Adding Custom CSS in WordPress
Before trying out any of these three techniques, it’s strongly recommended that you back up your WordPress site. This will ensure that if you make any errors that are difficult to reverse, you can easily restore your site to its previous state. Once that’s taken care of, you’re ready to begin!
1. Use the Theme Customizer
This method is quick, readily applicable to just about any theme, and requires no plugins whatsoever. Using the Customizer included in your WordPress site by default, you can change the elements of your theme directly by implementing CSS code.
Although it is relatively simple, using this technique effectively does require you to have a thorough grasp of how WordPress custom CSS works. The Customizer also lacks the advanced and streamlined features included in the plugins we’ll cover later on. However, if you are looking for an environment to test your newly acquired CSS knowledge, this is a good place to start.
The first step is to navigate to Appearance > Customize in your WordPress dashboard. Then, choose the Additional CSS option from the side menu:

In the left-hand menu, you should now see a text editor field where you can add your custom CSS in WordPress:
It’s also worthwhile reading the section of text directly above this field, as it contains useful information about keyword navigation and code syntax. You may also want to check out the WordPress Codex CSS entry, which contains some useful information about what you can add here.
The nice thing about the Customizer is that you’ll be able to see the changes you have made appear immediately on your WordPress site. That way, you’ll know whether your CSS is working correctly or not. Don’t forget to click Save & Publish once you are finished adding your WordPress custom CSS (and when you are happy with the way it’s appearing in the preview screen).
As we touched on earlier, if you change your theme, WordPress custom CSS you have entered will no longer apply. As such, it’s a good idea to copy your custom CSS so you can paste it in again easily, once you have made the change.
2. Use a Child Theme
If you are looking to modify the appearance of your WordPress site in any significant way, using a child theme is highly recommended. A child theme inherits the functionality of the theme you have chosen for your website. In turn, the base theme can be referred to as the ‘parent theme’.
The principle benefit of a child theme is that it enables you to edit, customize, and build upon something that already exists (the parent theme), rather than having to build a theme from scratch. The changes you make to the child theme will not affect the code of your parent theme at all. What’s more, having a child theme means you can upgrade or update your parent theme without losing the changes you have made to the child theme. Therefore, using a child theme is an excellent way to speed up development time.
Obviously, before you can use custom CSS in WordPress to design your child theme, you’ll need to have one up and running. Some themes come with their own child themes included. Otherwise, you’ll have to create one yourself. To do that, you just need to create a folder on your web server that contains a style.css file specifying the parent theme as the template and import the parent theme’s style.css file. Although this may sound daunting, it is actually a pretty straightforward process. What’s more, there are plenty of online guides and tutorial videos to walk you through the steps required.
Once you’ve created your child theme, you will need to access your style.css file in order to add custom CSS in WordPress. To do this, we recommend using the FTP (File Transfer Protocol) solution FileZilla. Once you have downloaded and installed FileZilla, enter your credentials (Host, Username, and Password) into the relevant fields:

If you have a hosting plan with 000webhost, you will be able to locate these credentials by logging in and navigating to Settings > General. Otherwise, you should be able to find them in your hosting account.
Once you’ve accessed your site, you’ll need to locate your child theme folder. To do this, look in the top right quadrant of FileZilla and navigate to wp-content > themes:
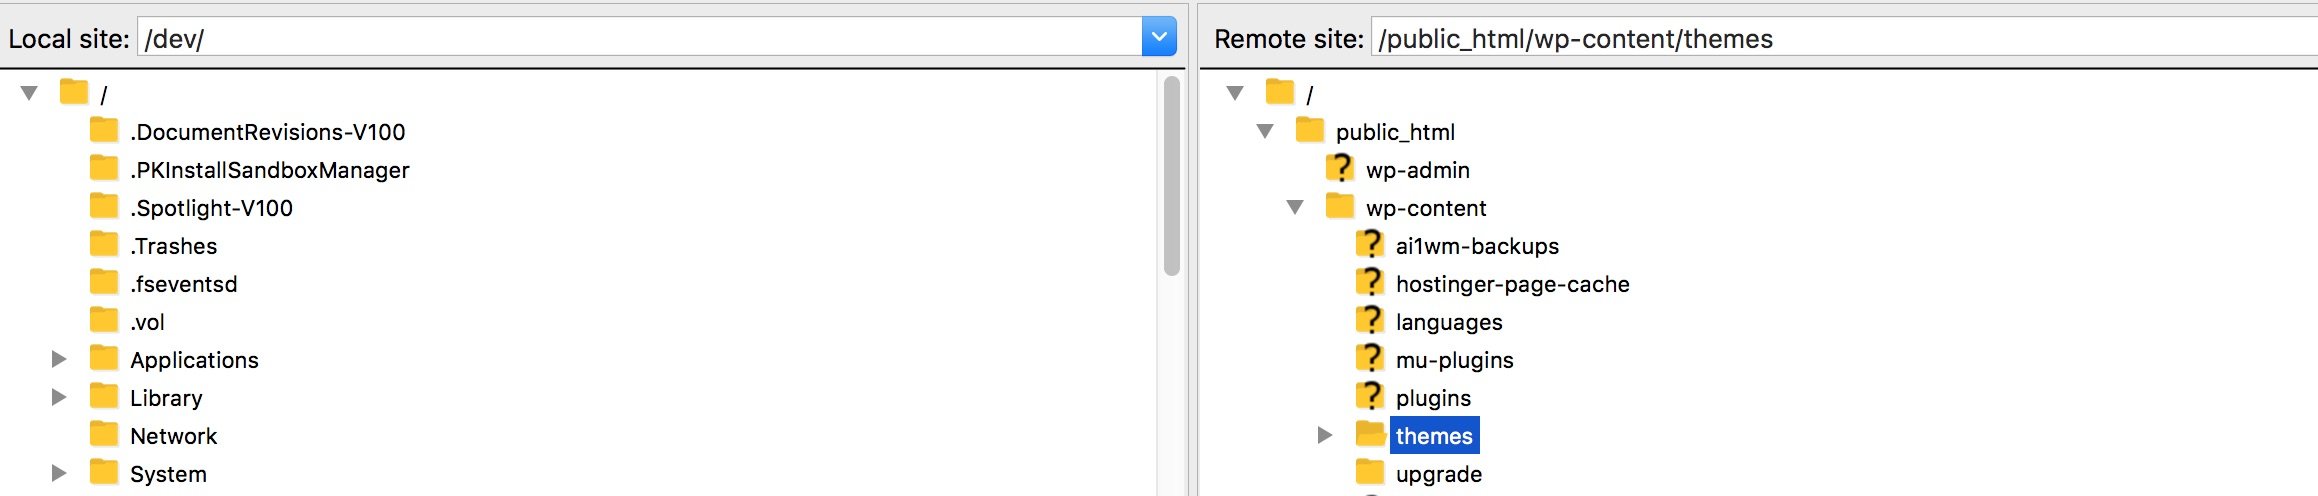
You should see your child theme folder here, with the style.css file located inside. Once you open the file, you can use your choice of text editor (such as Notepad or TextEdit) to add custom CSS.
It is important to note that when including custom CSS using the above method, you must use the same selectors that your parent theme uses. This will ensure that the changes you make display correctly. You can find out what your parent theme’s selectors are by navigating to its style.css file. This will also be located in the top right quadrant of FileZilla.
3. Use a Plugin
To make the process of adding custom CSS in WordPress even easier and more efficient, you can use a plugin in lieu of the above methods. In fact, there are a wide array of options to choose from. To help you out, we’ve narrowed down the list to five of the best WordPress custom CSS plugins (based on ratings, update history, and feature set). Let’s take a look at each one in turn.
CSS Hero (Freemium)
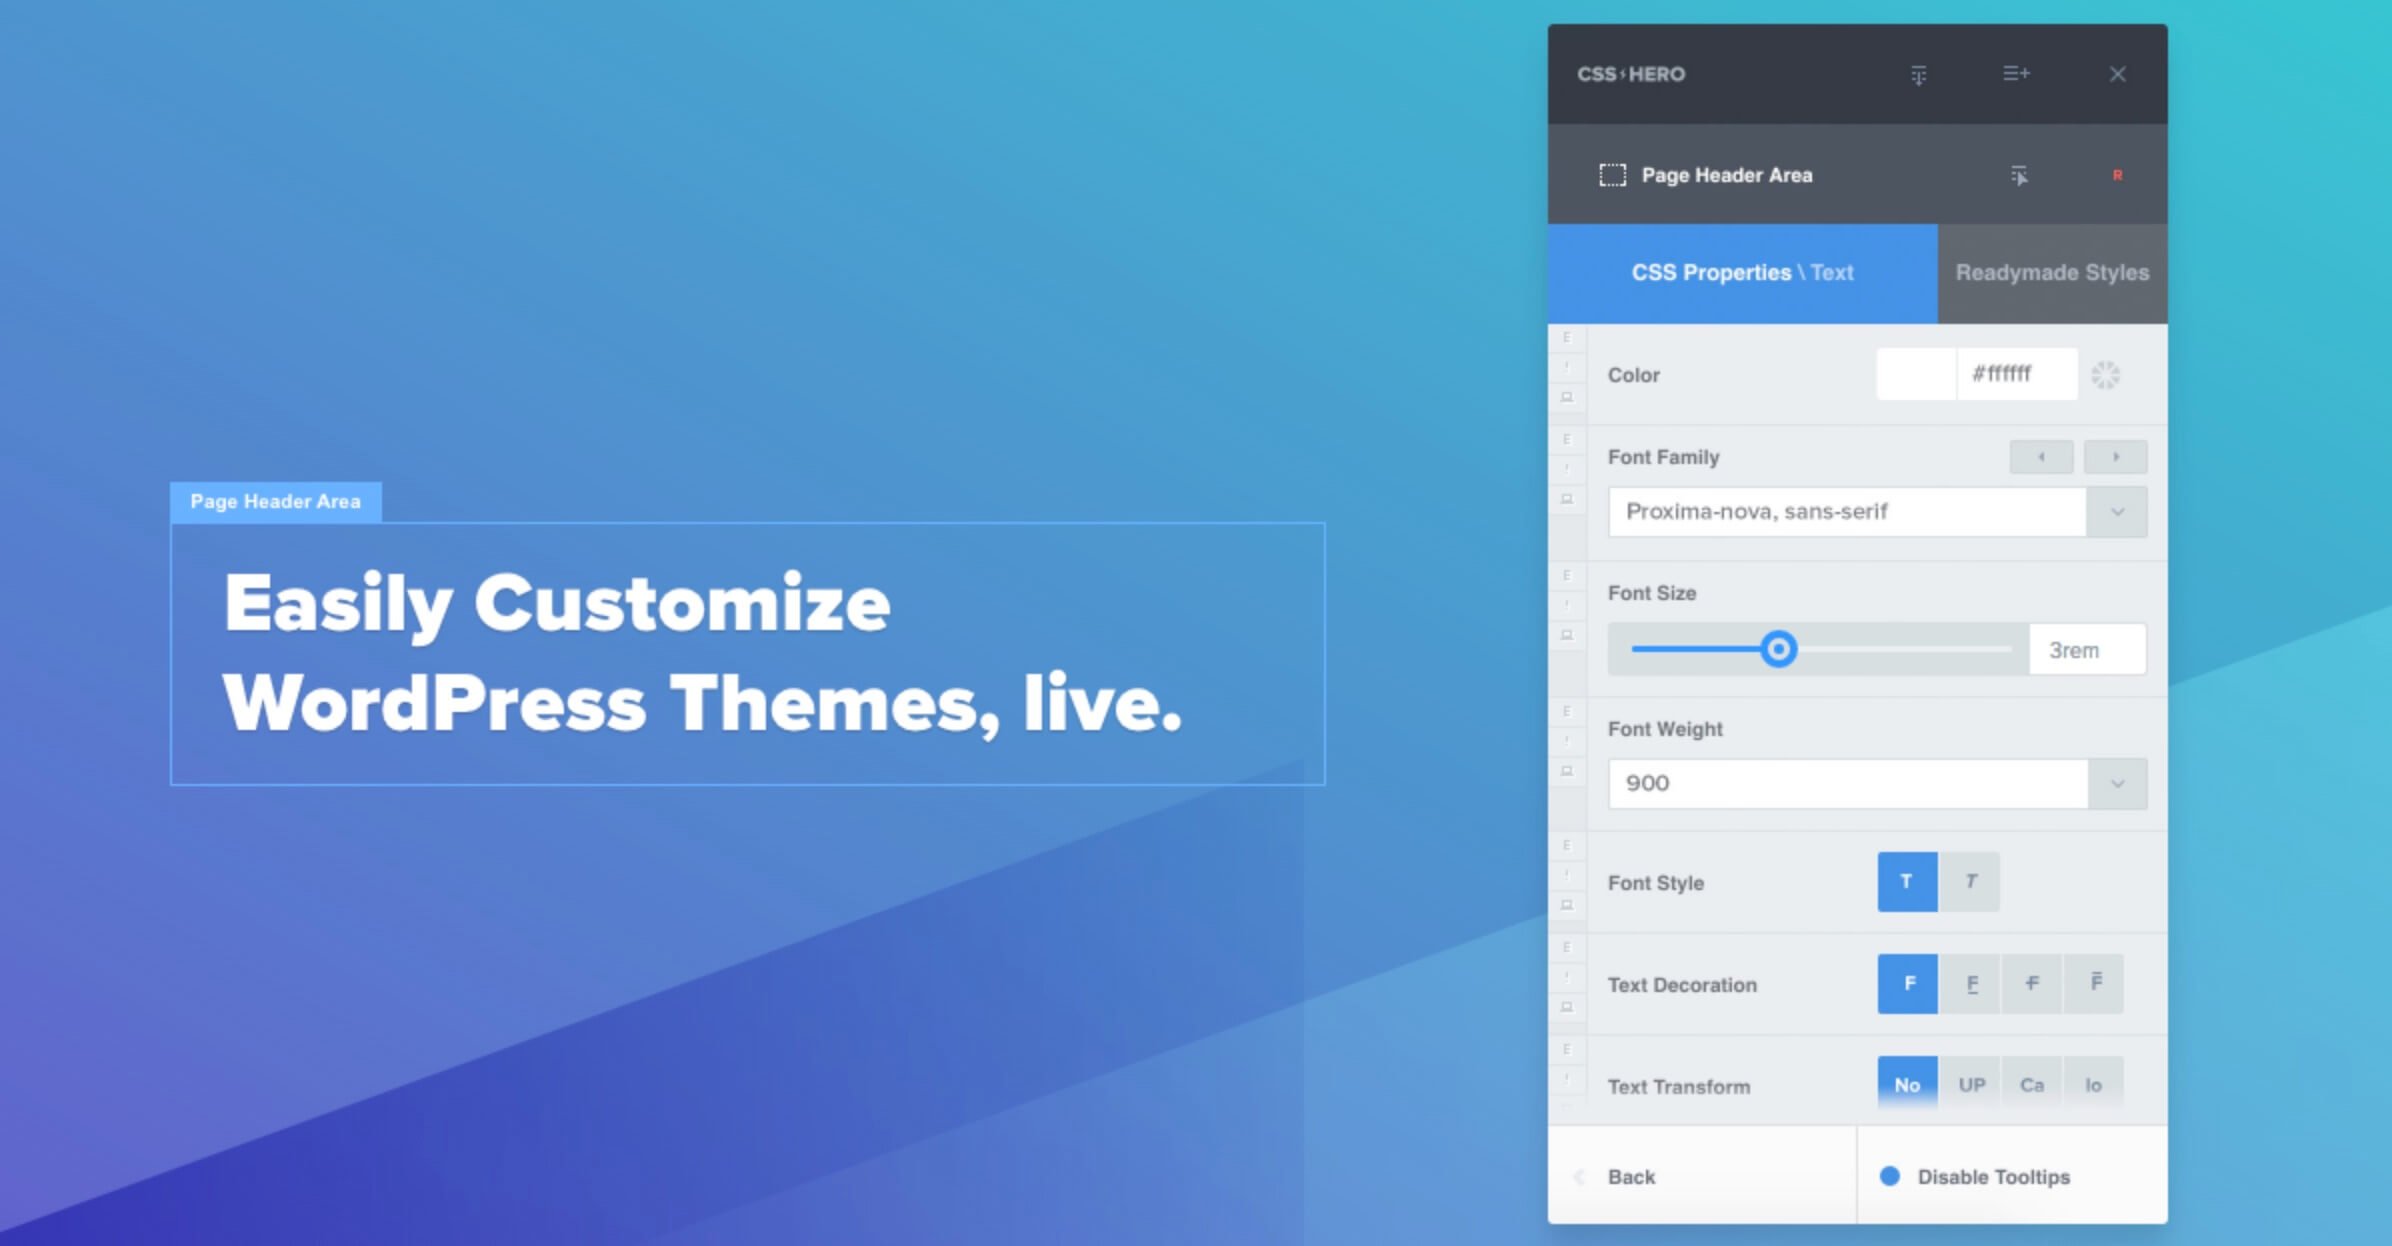
In addition to letting you effortlessly customize every aspect of your theme’s appearance, CSS Hero enables you to preview changes live on both mobile and desktop devices. This plugin also takes the guesswork out of more complex custom CSS operations, such as adding gradients and text shadows. Although there is no free version of CSS Hero, its extensive features and point-and-click interface make it well worth the price tag. This is especially true if you plan to tweak your theme extensively.
Key Features:
- Offers an ‘edit history’ feature, which enables you to undo CSS mistakes with ease.
- Lets you review and refine your code, avoid bugs, and save and export your custom code using a CSS inspector.
- Comes with more than 600 fonts to choose from.
Pricing: CSS Hero offers three tiered options. If you are working on just one website, the Starter plan ($29 per year) is recommended. The Advanced plan ($59 per year) can be installed on up to five sites. Finally, the Pro plan ($199 per year) can be installed on up to 999 sites and comes with priority support.
SiteOrigin CSS (Free)
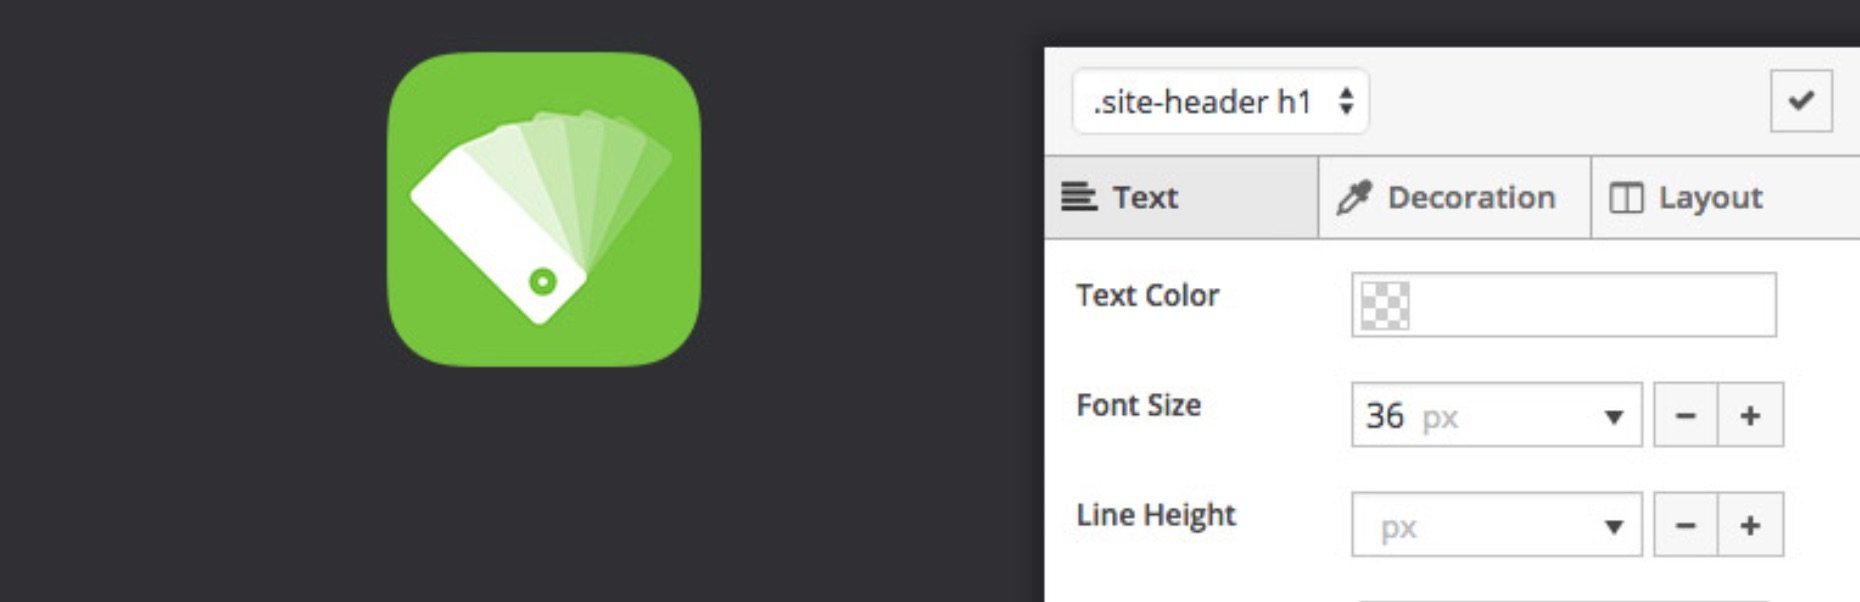
Despite not being as feature-heavy as CSS Hero, SiteOrigin CSS is flexible, well-supported and extremely beginner-friendly. If you still aren’t confident playing around directly with CSS coding, SiteOrigin CSS gives you the option to adjust theme elements (including colors, fonts, and measurements) via a simple visual editor. For the more advanced CSS coders, an autocomplete function is included to speed up the selector and attribute setting process.
Key Features:
- Includes a powerful inspector that lets you quickly identify the best selector for any HTML element.
- Offers a visual editor with simple buttons and drop-down menus for adjusting elements.
- Enables CSS linting, which helps you pinpoint and address coding issues before you publish your changes.
Pricing: SiteOrigin CSS is completely free and fully compatible with any WordPress theme.
Simple Custom CSS and JS (Freemium)
Simple CustomCSS and JS enable you to add custom CSS in WordPress via a simple text editor. A major perk of this plugin is that it reduces code size. This means that the load times of your website are far less likely to be affected by your custom CSS changes. Although this plugin is not as beginner-friendly as the other plugins we have mentioned, it is well documented and supported.
Key Features:
- Provides a handy code change preview button, which helps you get your changes just right before you apply them live.
- A revision history function, enabling you to review a history of custom CSS changes.
- Lets you select which URLs on your site will have custom CSS changes applied to them, using a simple menu.
Pricing: Although there is a stripped-down free version of this plugin, there is also a premium version offering several plans. The Personal plan ($48.50) contains the full gamut of features and automatic updates. However, it can only be installed on one site. The Developer plan ($68.50) can be installed on up to 10 sites, and the Big Agency plan ($148.50) can handle up to 50.
WordPress Add Custom CSS (Free)

WordPress Add Custom CSS is a lightweight plugin that gives you the option to customize CSS on specific pages and posts, or on your website as a whole. After installing and activating the plugin, you will see a text editor appear whenever you’re editing a post or page. All you need to do is add your custom CSS to this text editor, and when you preview your page, you’ll be able to see how it will look on your site.
For ease of use, there’s also an option that enables you to make changes to your site as a whole. Although this plugin does not contain many of the advanced features other plugins on this list offer, it is by far the simplest plugin to add custom CSS in WordPress. This makes it a solid option for beginners.
Key Features:
- Enables custom CSS to be added rapidly to custom post types.
- Offers excellent support.
Pricing: This plugin is completely free, and works with all WordPress themes.
Jetpack Custom CSS (Freemium)

Jetpack is one of the most popular plugins for WordPress and offers traffic and SEO tools, site security and backup features, and much more. Chances are you already have it installed. However, you may not know that Jetpack also contains a handy module for adding custom CSS in WordPress.
This module highlights CSS syntax (making it easier to discern which elements can be tweaked). It also lets you easily review code and make revisions. Better still, it automatically optimizes all your custom CSS for you, saving you time and preventing frustration. Whether you already have Jetpack or not, this is a solution worth checking out for most users.
Key Features:
- Includes multiple CSS insert modes (including the ability to replace your theme’s stylesheet).
- Lets you return to a previous version of your custom CSS if you wish to undo changes at any time.
Pricing: The basic version of the Jetpack plugin includes the custom CSS module for free. Although more advanced, feature-heavy plans for Jetpack are available, none of these add CSS-related features.
Conclusion
Although its appearance might intimidate the novice WordPress user, CSS offers a relatively simple and efficient way to improve the appearance of your website. By taking the time to master the basics of CSS, you can save yourself time and personalize your site with greater ease.
As we have seen, there are a variety of ways to implement custom CSS in WordPress. To briefly recap, here are the three primary methods:
- Use the Theme Customizer to add CSS directly.
- Create a child theme, and add custom CSS to the style.css file using an FTP solution such as FileZilla.
- Use custom CSS WordPress plugins, such as CSS Hero, SiteOrigin CSS, Simple Custom CSS and JS, WordPress Add Custom CSS, or Jetpack.
Do you have any questions about how to add custom CSS in WordPress? Let us know in the comments section below!