
Although the default WordPress search feature has been upgraded in recent years, it still leaves plenty to be desired. This is particularly the case if your website is large (i.e. with many posts and pages) and reliant on categories. After all, you want to make it as easy as possible for your visitors to find what they’re after.
Fortunately, WordPress offers several handy plugins that improve the search function dramatically. These tools can add auto-suggestions, interpret data in order to suggest related posts, filter searches (by category, post type, tags, etc) and much more. What’s more, they are simple to use and often free.
In this article, we will cover five ways to improve your WordPress search function. Along the way, we’ll explore some of the most popular WordPress search plugins available. Let’s begin!
The Limitations of the Default WordPress Search Feature

The WordPress search bar helps users find what they are after quickly.
The default search feature in WordPress is relatively simple. It lets users look up a specific post or another element that is present on your site, without having to browse through pages manually. After a user types in what they are looking for, the results are organized according to the following hierarchy:
- Full sentence matches in post titles.
- All search terms being present in the post title (but not a full sentence match).
- Any, but not all, search terms being present in the post title.
- Full sentence matches in the post content.
Within each of these groups, results are filtered further, according to publication date or prefigured chronology. This limited sorting mechanism was incorporated in 2013, and it has changed little since then.
While the default WordPress search option may be suitable for small-scale sites, it can be sorely lacking if your site:
- Is large, incorporating many categories and tags.
- Focuses on e-commerce, as potential customers will need to have their searches honed via categories and subcategories to better find what they need.
- Has users frequently using the search feature. This indicates that the standard navigation buttons are not directing users to what they want quickly enough. If this is the case, it makes sense to ensure that the search function is as helpful as possible.
Failing to make sure your WordPress search function accommodates the specific needs of your visitors will likely hinder your user experience dramatically and can have a negative impact on your business.
Fortunately, WordPress makes it easy to improve the search function of your site in a variety of innovative ways. The platform also offers methods to help you better track what your users are searching for. This provides you with invaluable information for making your site even more user-friendly. Let’s look at some of the ways you can expand your site’s search.
5 Ways To Improve Your WordPress Search Function
Before implementing any of the WordPress search improvements outlined below, it’s recommended that you back up your site. This will ensure that you can restore your site easily if you run into any problems along the way. After you’ve done that, you’re ready to begin.
1. Choose a Powerful Search Algorithm
If your site includes a lot of written content, it can benefit from an improved search algorithm. This is likely the case if your site focuses heavily on blog posts, articles, or review pages. An algorithm is a procedure designed to locate specific information, based on set parameters. A powerful algorithm will enable you to refine the parameters that determine search results, significantly improving their relevancy.
An easy way to add a powerful search algorithm to your site is to implement Google Custom Search:
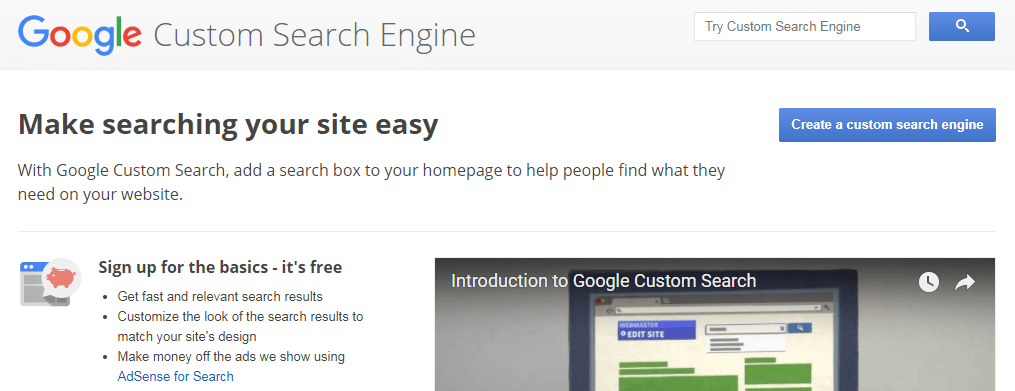
This will add a Google search bar to your WordPress site, which will implement the fundamentals of Google search technology. For example, when a user searches for something using the Google Custom Search bar, you can configure it to provide the following elements:
- Autocomplete. This anticipates what the user will type in, potentially saving them time.
- Synonyms. These are variants of a search term. For example, if a user typed in “Mt. Fuji”, results for “Mount Fuji” would also be shown.
- Refinements. Labels can be implemented to filter search results even further, ensuring greater relevancy.
- Promotions. If you want, you can choose a specific URL to display for a particular keyword. This is possible even if the URL is not included in the search engine.
Google Custom Search also lets you adjust the size and color scheme of your search bar. That way, you can help ensure that it matches the aesthetics of your site. If you’re interested in implementing this solution, you can use an online guide to add Google Custom Search to your WordPress site.
2. Implement Faceted Search Functionality
While a powerful search algorithm is useful for anticipating user searches and sorting through written content, faceted searches are more suited to sites that use a lot of categories. This is frequently the case with e-commerce websites, where categories, sub-categories, and option buttons are needed so users can filter down what they’re searching for.
For example, a user looking to buy a camera might use a faceted search bar to look up cameras. Then, they’ll select from a variety of sub-options to specify the make, capabilities, and price of the item from a menu. Obviously, the default WordPress search function would not be conducive to this kind of quick and relevant product search.
There are a number of plugins that will let you add faceted search functionality to your WordPress site. Facet WP, for example, enables you to add drop-down menus, checkboxes, sliders, and date ranges to search results. There’s also a function that adds geolocation to searches, telling users the proximity of the goods they want to buy. Facet WP integrates with WooCommerce, and offers demos to help you envision what your faceted search elements will look like.
Another useful faceted WordPress search plugin is Search & Filter:

Like Facet WP, this plugin lets you add a variety of check boxes and drop-down menus, while also permitting you to include custom taxonomies. Although the free version is highly flexible, Search & Filter Pro contains a number of additional ways to refine searches (including by author and post date).
3. Track Your Searches
The two improvements we’ve discussed so far benefit your website’s users directly, on the front end of the site. However, tracking searches take place on the back end, to help you better understand the behavior of those users.
Search tracking involves analyzing the ways visitors are making use of the search function on your site. It provides you with insight into the kinds of terms they are searching for, as well as how effectively users are finding what they need. The information you can glean from tracking searches is invaluable, as you can use it to further hone how information is presented for optimal user experience (and potential conversions).
The Site Search function of Google Analytics provides an effective means to track the ways visitors are using search on your site:

For example, you can adjust the parameters of your tracking to see how users are searching after they have refined their category choices. The process of setting up a site search with Google Analytics and viewing the data acquired from it requires following a few simple steps. Note that you will need a Google Analytics account to complete the procedure.
4. Adjust the Weight of Search Terms
There is probably certain content on your site that you want to direct your users to as a priority. For example, if a term for a product a user is searching for appears in a blog post as well as a product page, you would probably want the result for the product page to be emphasized over the blog post. Weighting presents a handy way to achieve this. It enables you to assign a numerical ‘weight’ to a particular element (such as a title or tag), to improve the likelihood of relevant pages featuring that element appearing.
The Relevanssi WordPress plugin permits an easy way to weigh elements of your site:

The default weighting (1, in this instance) renders the term as neutral. Numbers above that value emphasize the term (i.e. increase the weighting). Lower numbers de-emphasize it, which is useful if it is not as relevant as other terms. This method provides you with a simple and quick means of tweaking search results to better suit your needs.
5. Set Up Elasticsearch and ElasticPress
In addition to giving you greater control over how search results are delivered to users, you can also use a WordPress search plugin to vastly speed up the searching process. For example, Elasticsearch is an extremely fast, scalable, and open-source search server, which enables data to be analyzed in real time:
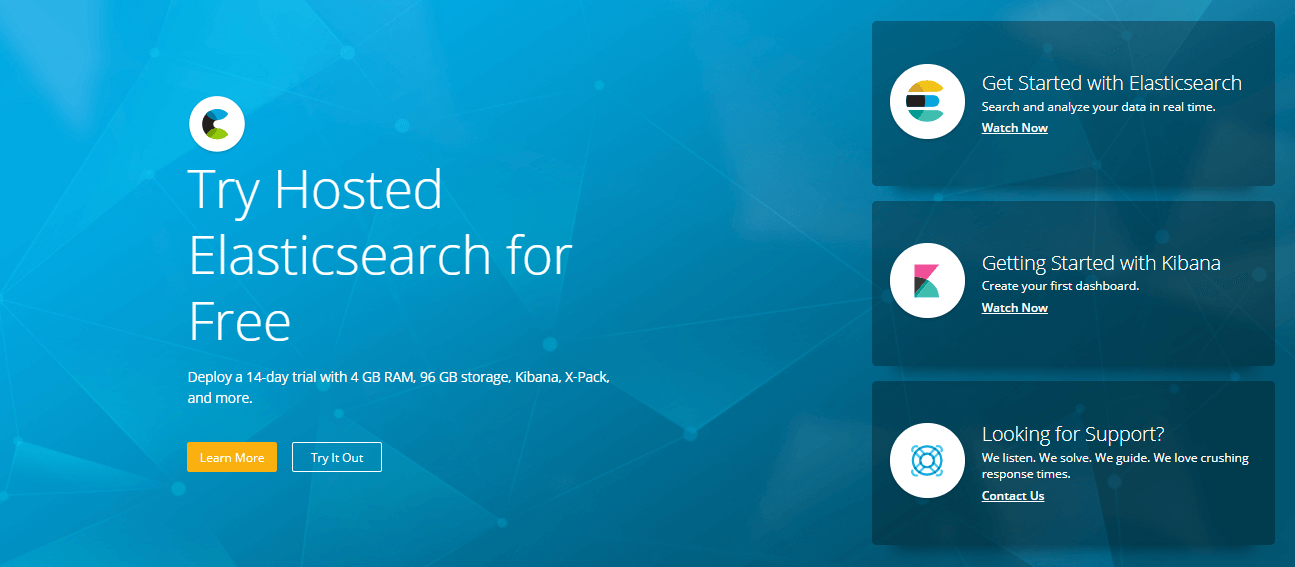
This tool is particularly useful if you run a large-scale e-commerce business with a large variety of products. It is also an essential prerequisite component of the ElasticPress WordPress search plugin, which will integrate WordPress with Elasticsearch to make the search process much faster for users.
Since this tool is so useful, let’s take a look at how to set up Elasticsearch, then cover how to install and activate the ElasticPress plugin in order to implement it. It should be noted that installing and configuring Elasticsearch does involve editing WordPress core files. Therefore, it’s particularly important to have a backup before using this technique.
The first step is to download the latest version of Elasticsearch as a .zip file. Once you have unzipped the file, follow the installation prompts to install it on your system. After this, you will need to edit your wp-config.php file so that it contains the location of your Elasticsearch server. Essentially, wp-config.php is a configuration file for self-hosted WordPress sites. To edit it, you’ll need to use File Transfer Protocol (FTP). This process will enable you to rapidly access the files, and make modifications and edits to them securely. We recommend FileZilla, which is an efficient, user-friendly solution for working with FTP. It’s also easy to get started with.
It’s important to note that once you have installed and opened FileZilla, you will have to enter in the credentials of your web host (Host, Username, and Password) into their respective fields:
If you’re a 000Webhost user, you can find your credentials by logging into your account and navigating to the Settings > General tab, where they’ll be visible near the top of the screen. Note that your password will be the same one you use to log into your account.
The layout of FileZilla consists of quadrants, and the top right one contains all the files present on your server. Locate wp-config.php in that quadrant and right click on it. After this, choose the View/Edit option, which will open the file in your chosen text editor. Next, add the following line of code beneath it, before saving your changes:
define( 'EP_HOST', 'http://elasticsearch:9200' );
Before installing and activating the ElasticPress plugin, you will have to set up WP Local Docker. This is a powerful tool that lets you create and manage local development environments for your WordPress site. It’s quick, open-source, and will let you test the efficiency of Elasticsearch on your WordPress site more effectively. Setting up WP Local Docker so that it supports your Elasticsearch installation involves following a few basic steps which vary slightly, depending on what system you are using.
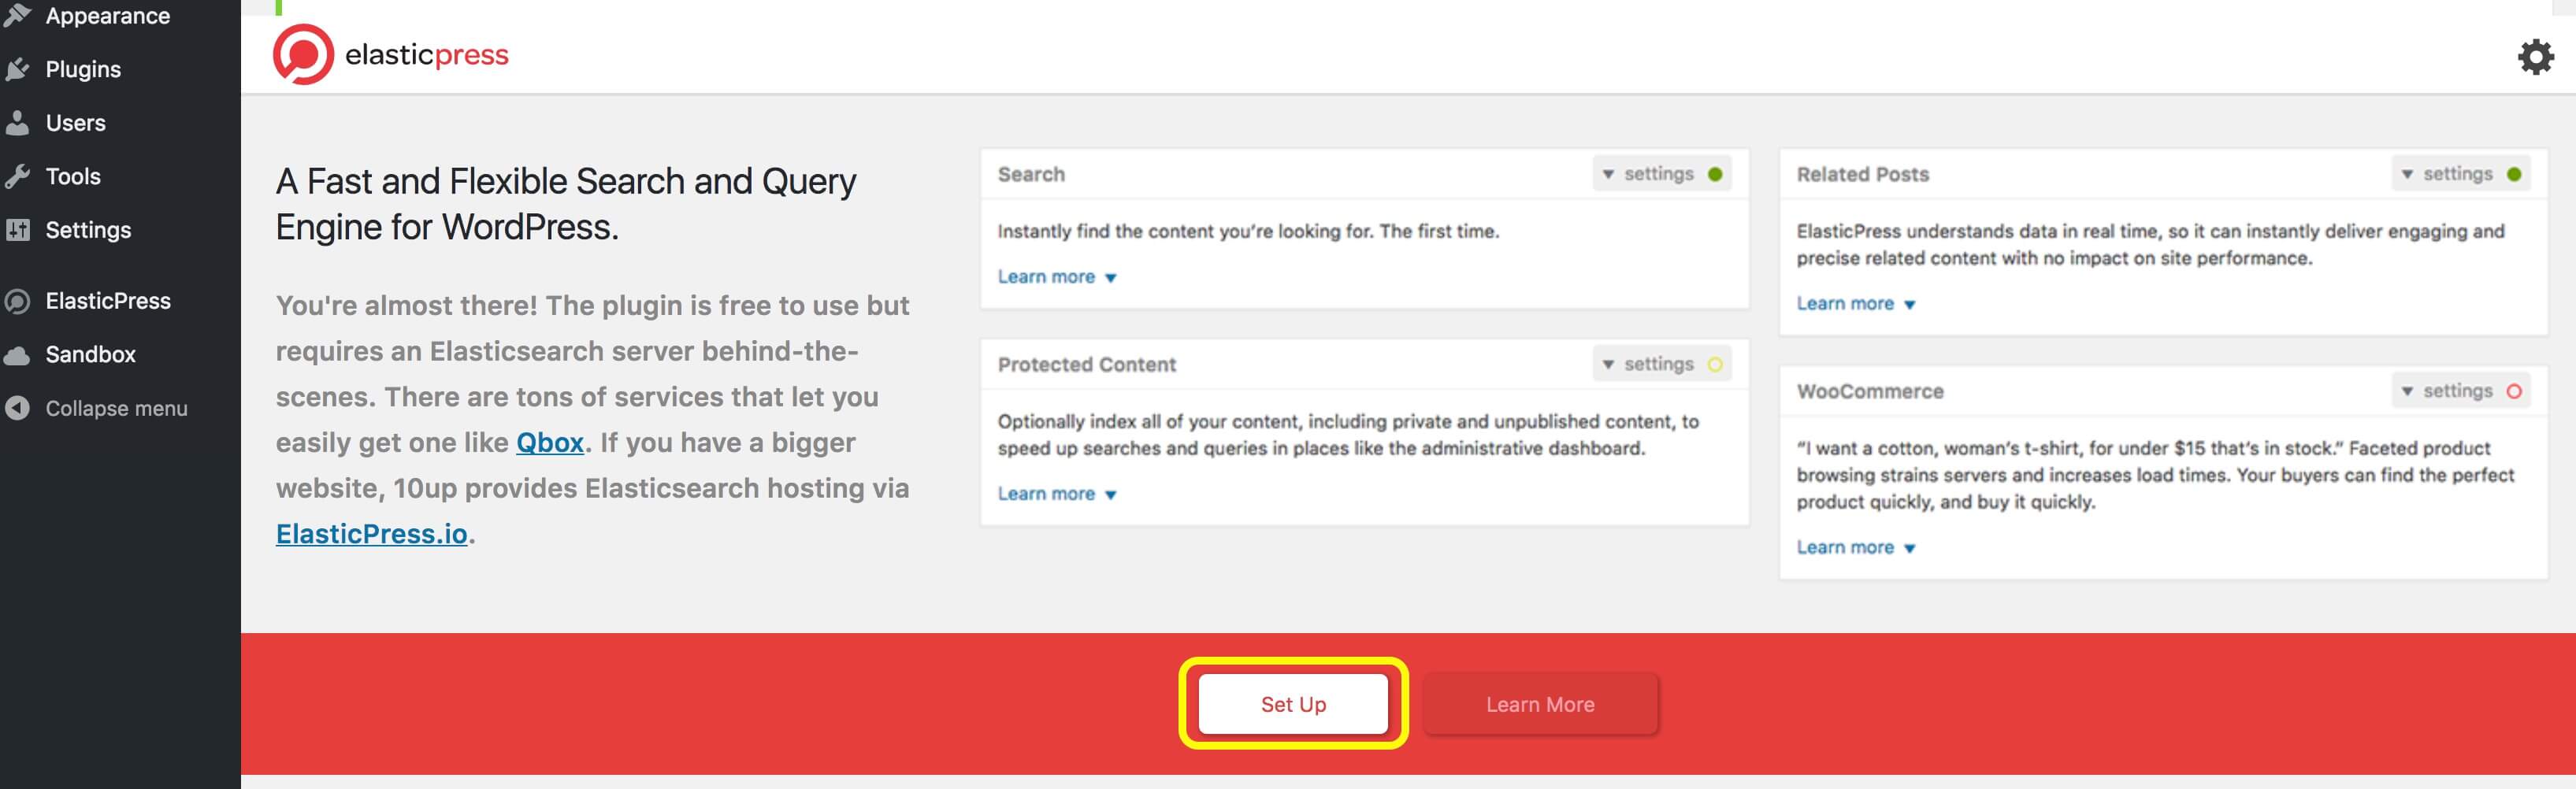
At this point, you’re ready to add the ElasticPress plugin to your WordPress site. To do this, navigate to the Plugins menu in your dashboard and select Add New. Next, type in ElasticPress in the search bar. ElasticPress should be the first option displayed. Click Install for ElasticPress, then click Activate when the installation is completed.

When you click on Elasticsearch in the side menu, you’ll be directed to a welcome screen:
Select Set Up, and enter http://elasticsearch:9200 into the Elasticsearch Host text box, before saving your changes once again:

After completing this step, a dashboard notification will display asking you to run a sync. Click on the option to run the sync, and once the process is completed, your ElasticPress installation will be set up locally with Elasticsearch!
Conclusion
To optimize user experience (and help increase conversions), it’s important that your WordPress search feature offers a lot more than the limited default features. Fortunately, as we have seen, WordPress presents a variety of ways to enhance search and better serve your users.
Let’s recap the five ways you can do this:
- Choose a powerful algorithm (such as Google Custom Search) that will improve the relevancy of user searches.
- Implement a faceted search functionality (through WordPress search plugins like FacetWP and Search & Filter) to help users refine searches through preset categories.
- Track your searches (using Google Analytics) to gain an insight into what your users are searching for and how frequently they are using the search function.
- Adjust the weight of search terms (such as by using the Relevanssi WordPress plugin) to help direct users to the most useful posts and pages.
- Set Up Elasticsearch and ElasticPress, to dramatically speed up search results for your large-scale business site.
Do you have any questions about improving your WordPress search function? Let us know in the comment section below!